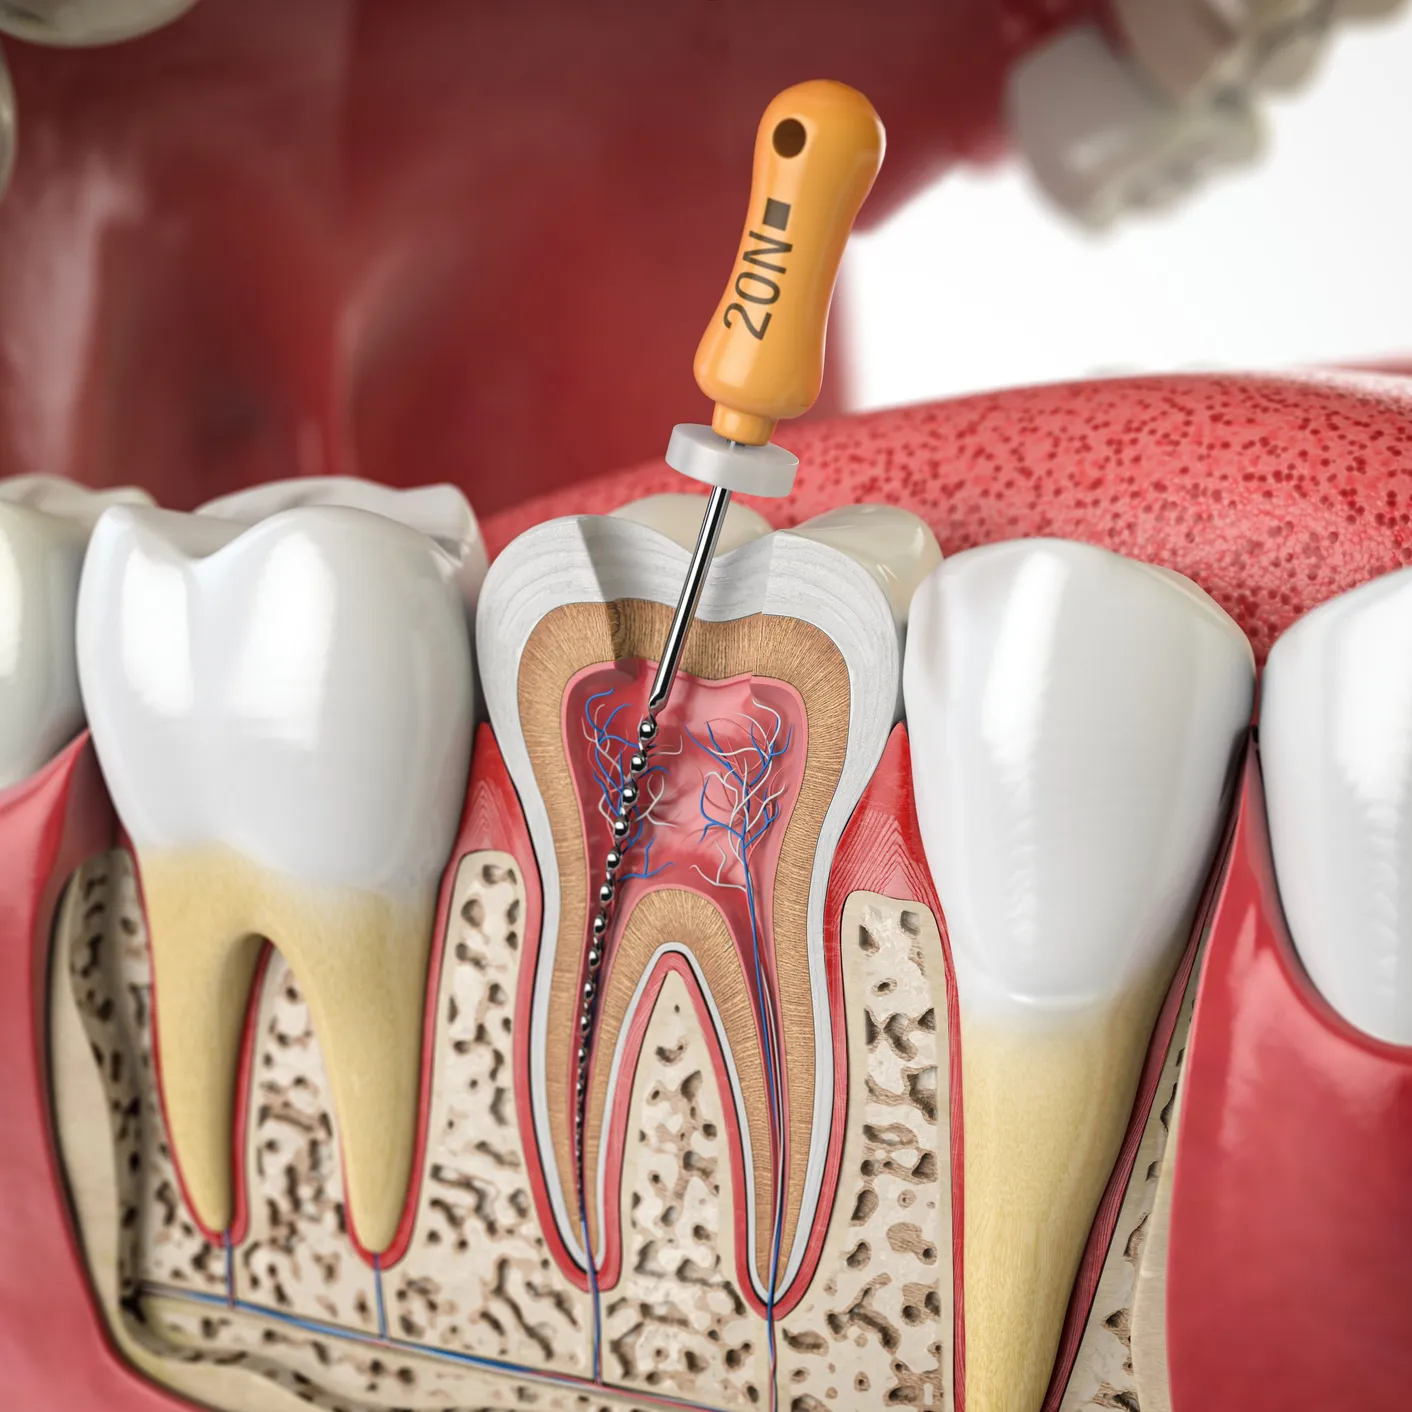
Treatment steps in endodontics - simply explained
Endodontic treatment is intended to preserve a diseased tooth. Inflamed or dead tissue is removed from inside the tooth. The root canals are then cleaned, disinfected, filled and securely sealed.
Über 350 Google-Bewertungen

What does endodontics mean?
Endodontics is a branch of restorative dentistry. It deals with diseases of the dental pulp and root canals. The aim is to preserve natural teeth in the long term.
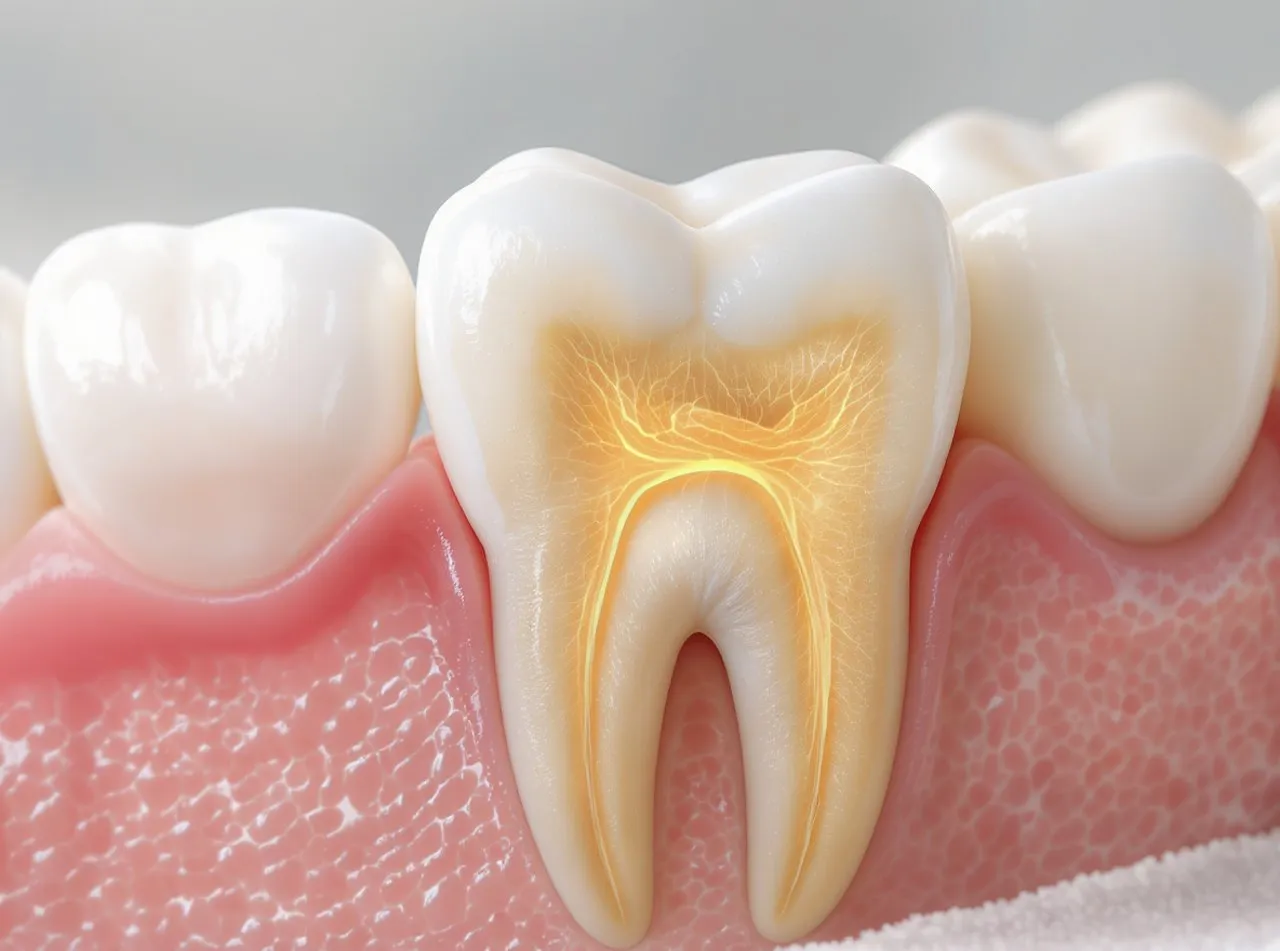
The pulp is located inside every tooth. It contains nerves, blood vessels and connective tissue. If it becomes inflamed, root canal treatment may be necessary.
Common causes include deep tooth decay, leaking fillings or dental injuries. Fine cracks can also allow bacteria to enter the tooth. Without treatment, the inflammation can spread to the root tip.
Step 1: Examination and diagnosis
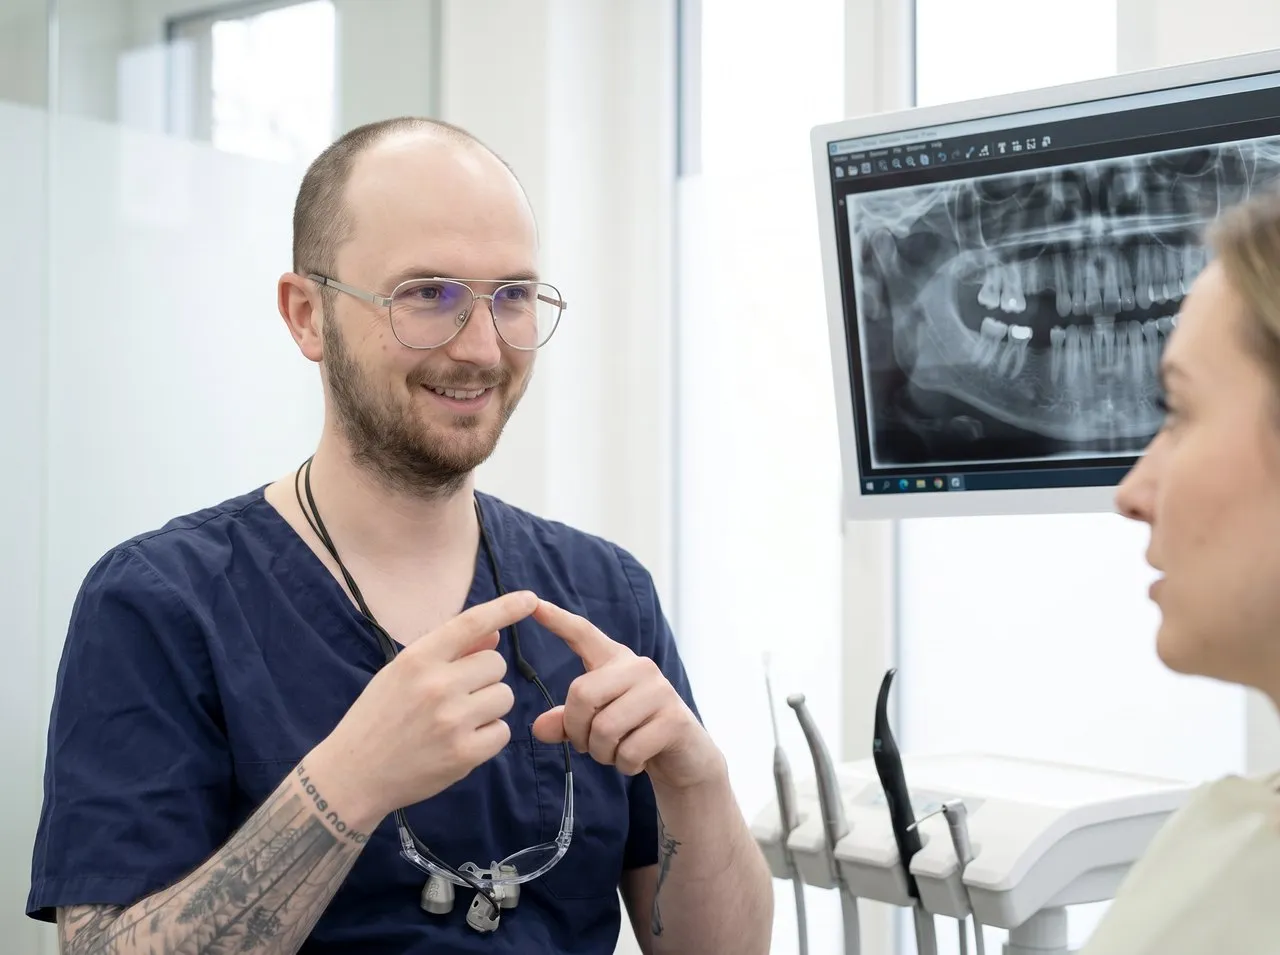
Treatment begins with a careful dental examination. The dentist checks the affected tooth and surrounding tissues and assesses reactions to cold, pressure or touch.
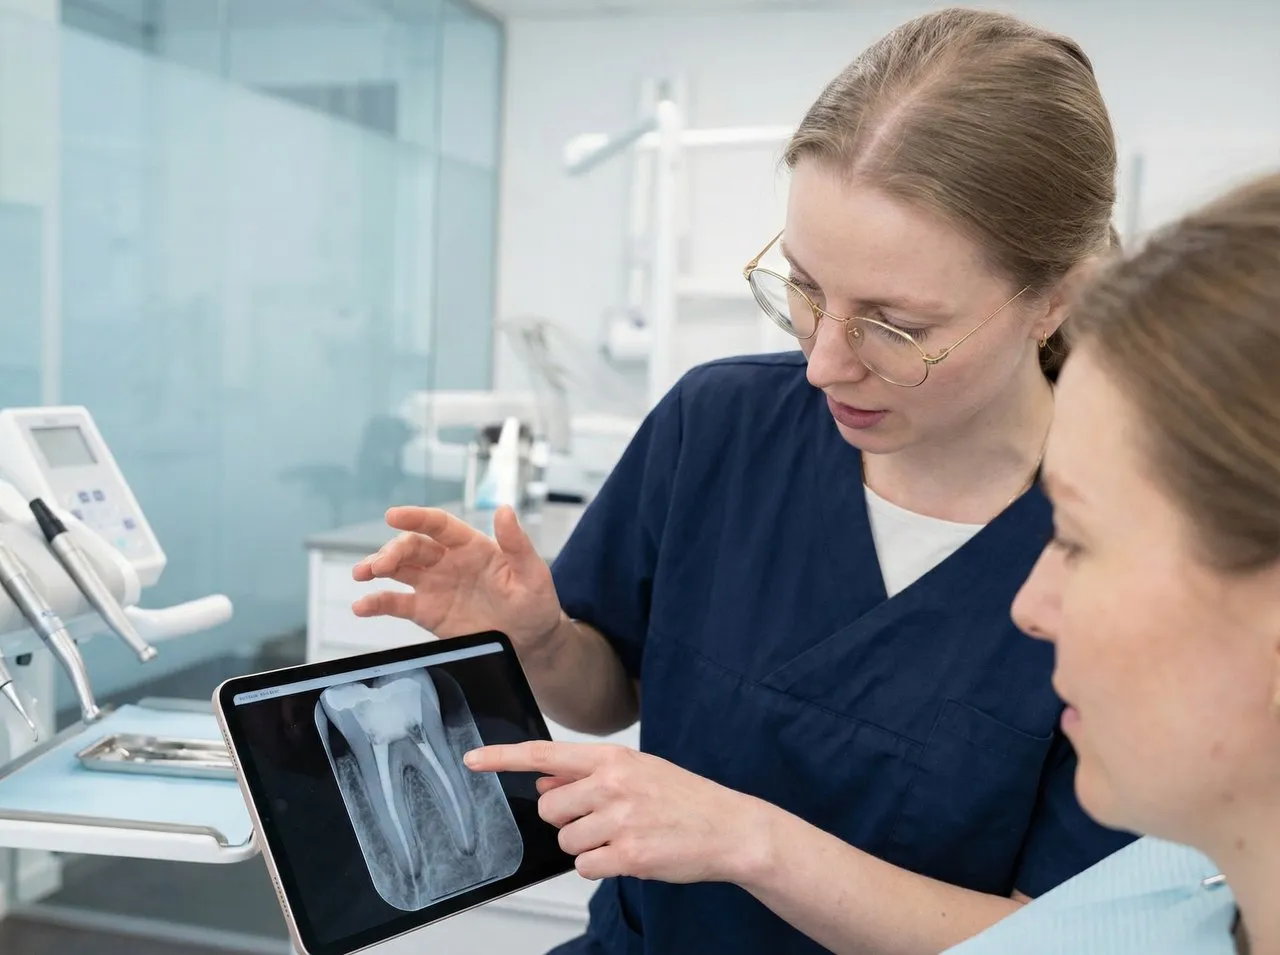
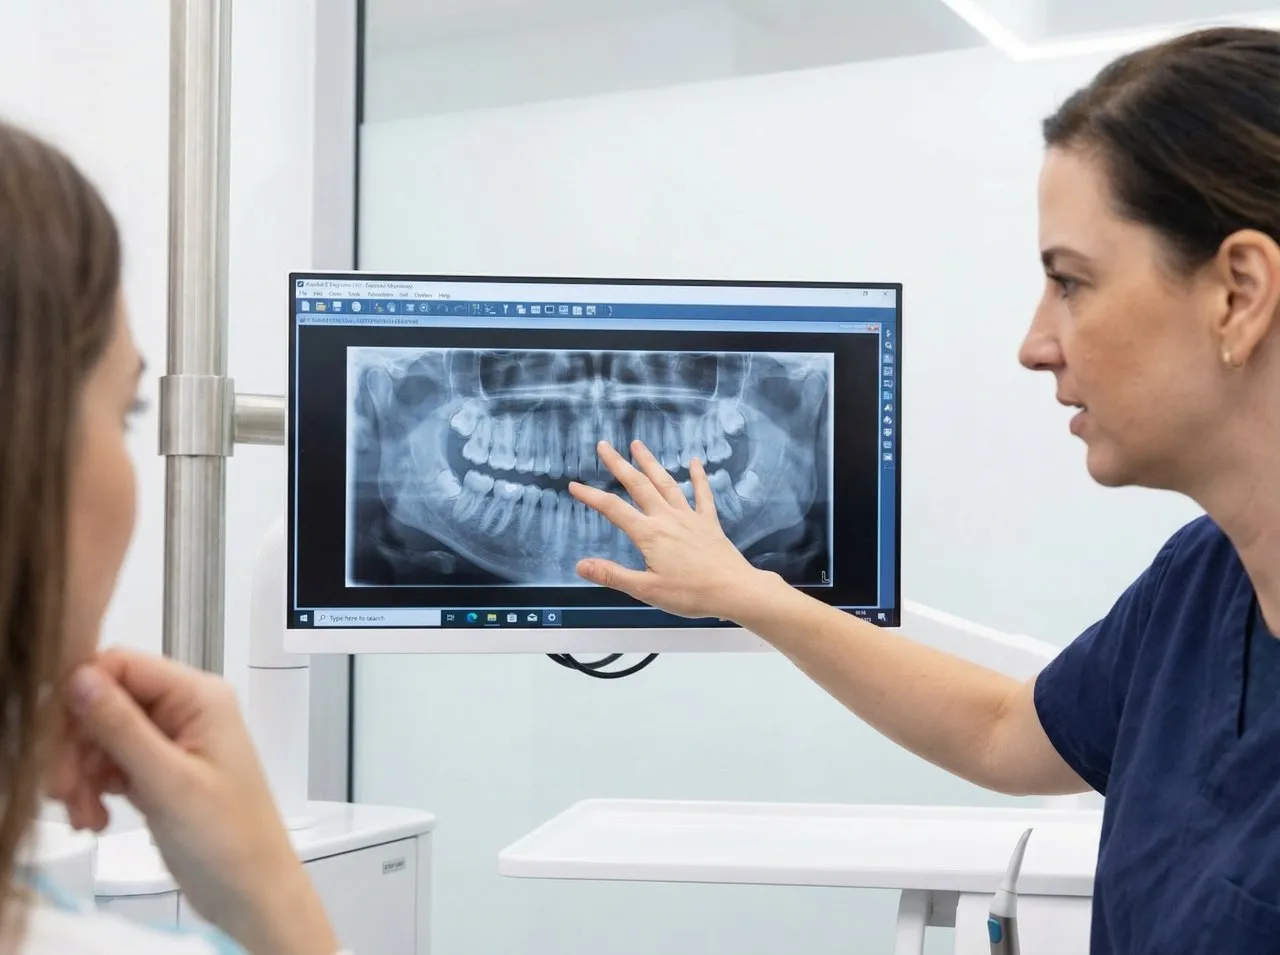
X-rays show the shape of the roots and possible signs of inflammation. A 3D image may be useful in complex cases to plan the treatment more accurately.
A sensitive tooth does not always need immediate root canal treatment. Monitoring or another treatment may be appropriate at first.

Step 2: Consultation and treatment planning
The diagnosis is followed by a detailed consultation. The findings, prognosis and possible alternatives are discussed. Patients also find out how many appointments are likely to be needed.
The condition of the dental crown is also important. Severely damaged teeth often need a crown after endodontic treatment to protect them from later fractures.
Careful planning improves the chances of success. Molars in particular often have several narrow canals, all of which must be located and treated.
Step 3: Anaesthesia and isolation
Before treatment, the tooth is numbed with a local anaesthetic. This allows the procedure to be carried out in a controlled manner. Its effectiveness is carefully checked before starting.
The tooth is then isolated with a rubber dam. This thin rubber sheet keeps out saliva and bacteria. It also protects the mouth from irrigation solutions.
Isolation is an important quality factor. It creates a clean working field.
Step 4: Access to the inside of the tooth
The dentist now carefully opens the crown of the tooth. The access leads to the pulp chamber and the canal openings. As much healthy tooth structure as possible is preserved in the process.
Magnification makes it easier to see fine structures. Dental loupes or a dental microscope help when locating canals. This is particularly relevant for curved roots.
Step 5: Determining the working length
Each root canal must be prepared to the correct depth. For this, the so-called working length is determined. It usually extends to just short of the root tip.
The measurement is taken electronically and often additionally checked with an X-ray. This reduces the risk of incomplete cleaning and also helps to position the filling precisely.
Step 6: Cleaning and preparation
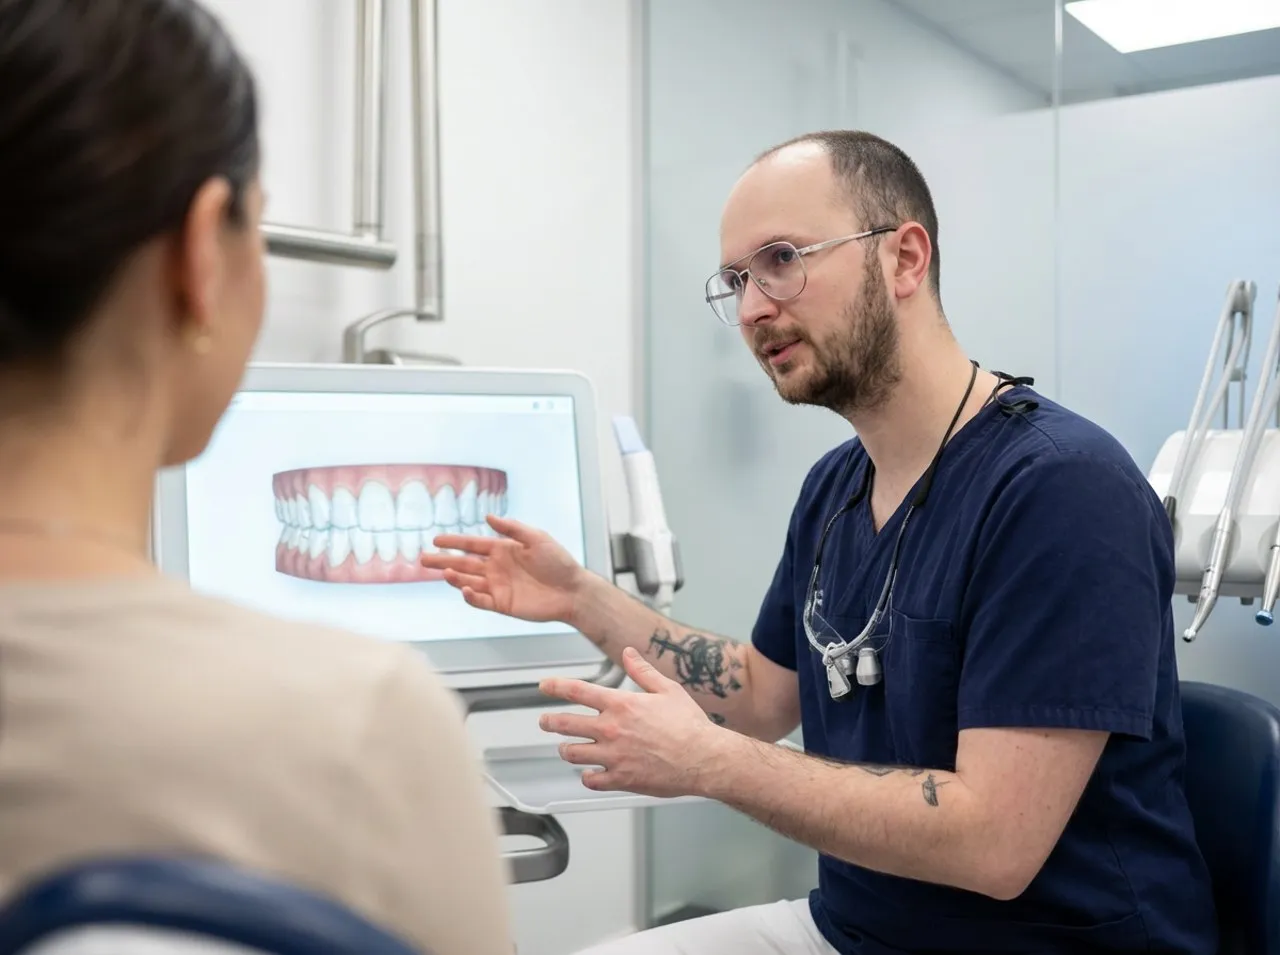
Now the central part of the endodontic treatment begins. Fine instruments remove tissue and bacterial deposits from the canals. At the same time, the canals are gently widened and shaped.
Machine-assisted file systems enable very precise preparation, as every tooth has its own root anatomy.
The canals are irrigated repeatedly between the instrumentation steps. Disinfecting solutions reach areas that instruments cannot touch. Ultrasound can further enhance the effect of the irrigation.

Step 7: Medicated dressing
Not every tooth is permanently filled straight away. A temporary dressing may be useful if the inflammation is more severe. It remains in the root canal for a few days.
This dressing helps to reduce germs in the canal system. The tooth is then temporarily sealed.

Step 8: Root filling and sealing
Once the canals are dry and prepared, the root filling is placed. Gutta-percha is often used for this. This biocompatible material seals the canal space tightly.
A special sealer cement is also used. It fills small gaps between the canal wall and the filling material. The aim is a bacteria-tight seal.
The access to the tooth is then sealed. A temporary filling may be needed at first. The definitive restoration follows later.

Step 9: Restoration and long-term stabilisation
After root canal treatment, the tooth needs a durable restoration. Smaller defects can be restored with a composite filling. More extensive loss of tooth structure often requires a partial crown or crown.
The restoration protects the tooth during chewing. Root-treated back teeth in particular benefit from added stability.
Step 10: Check-ups and aftercare
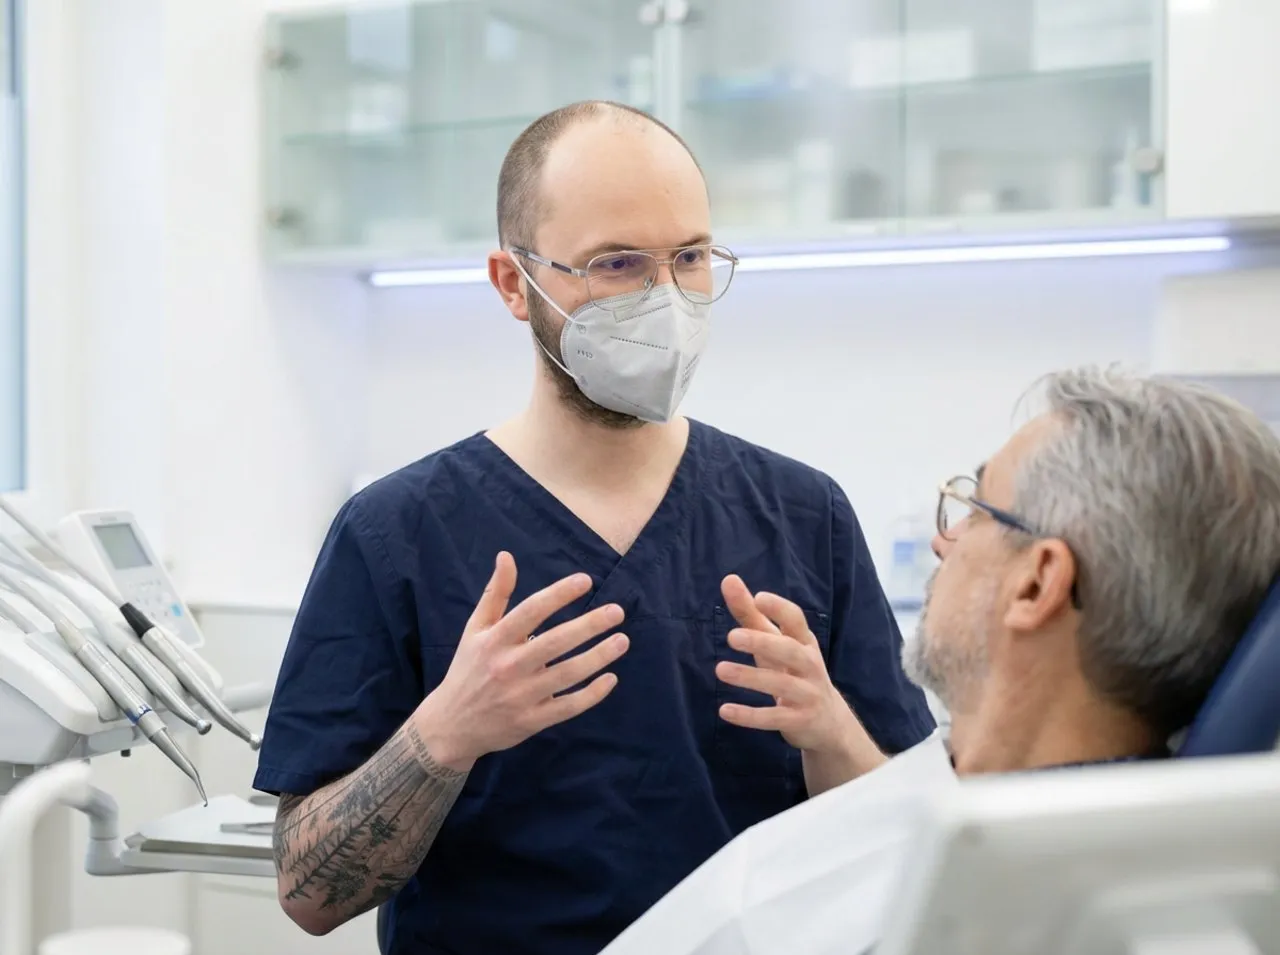
Endodontic treatment does not end with the filling. Follow-up appointments show whether the inflammation is subsiding. X-rays help when assessing the root tip.
Good oral hygiene at home also remains essential. Thorough brushing and interdental cleaning protect the new restoration. Regular check-ups preserve the treatment outcome in the long term.

When is endodontic treatment advisable?
Endodontic treatment is advisable if the tooth can be preserved. The decisive factors are the condition of the root, the bone support and the remaining hard tooth structure.
At Wunschlachen, every case is assessed individually. Modern technology supports diagnosis, cleaning and aftercare. This often makes it possible to preserve the natural tooth in the long term.

What influences the success of treatment?
Success depends on several factors. Tight fillings, clean canals and stable restorations are important. The initial condition of the tooth also plays a central role.
Severely curved canals make treatment more technically demanding. The same applies to old root fillings or hidden lateral canals. A structured approach helps to assess these challenges reliably.
Patients can actively support healing. They should attend follow-up appointments and take good care of the tooth. Any new symptoms should be assessed promptly.